The Best Wood Carving Tools for Beginners
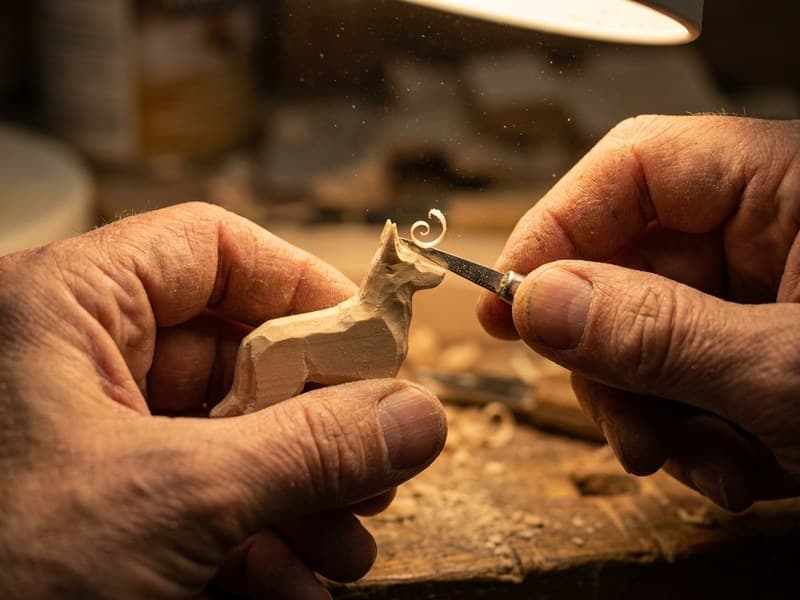
Walk into any carving forum and you will see photos of benches lined with fifty chisels. It is intimidating, and it is misleading. You can carve a convincing miniature dog with four tools, and three of them fit in one hand. Here is the short list that carries a beginner from a raw block to a finished figure, plus how to judge each one before you spend a dollar.
Start with one good detail knife
A short, fixed-blade detail knife does roughly ninety percent of the work on a miniature. The blade should be an inch to an inch and a half long, stiff, and ground thin enough to slice end grain cleanly. A comfortable handle matters more than most beginners expect, because you will hold it for hours and a bad handle raises a blister before it teaches you anything.
Skip the folding pocket knives and the giant bushcraft blades. Neither gives you the control a small fixed blade does. When you test a knife, push a slow cut through the end grain of a basswood scrap. It should peel a clean curl, not crush or skate. If it fights you at the store, it will fight you at the bench.
Add one shallow palm gouge
A gouge is a curved cutting edge that scoops rather than slices. For animal work you want a shallow sweep, something in the number three to number five range, with a palm handle you push by hand. This is the tool that hollows the chest of a dog, rounds the flank of a fox, and softens the transition from shoulder to neck without leaving flat facets.
You do not need a set of twelve. One shallow gouge covers most rounding, and you can add a second, deeper sweep later when you start carving folds and undercuts.
A small V-tool for fur and separation
The V-tool, or parting tool, cuts a narrow V-shaped trench. It is the tool that suggests fur direction, defines where a leg meets the body, and lays in the line between two ears. A sixty-degree V-tool is a sensible first choice. Used lightly it reads as texture, and used firmly it reads as a clean edge, so it earns its place fast.
A cut-resistant glove, worn every time
This is the cheapest tool on the list and the one that keeps carving enjoyable. Wear it on the hand holding the wood, not the hand holding the knife. A single deep cut early on is the fastest way to talk yourself out of the hobby, and a five dollar glove removes almost all of that risk. Thumb guards and self-adhesive tape are worth adding once you start carving small, fiddly detail near your fingertips.
Sharpening is a tool, not an afterthought
A stropped edge cuts cleaner than a freshly sharpened one and prevents most tear-out, which is the ragged fuzz you get when a dull blade crushes fibers instead of slicing them. A leather strop loaded with honing compound is a required purchase, not an optional one. Strop the knife every few minutes while you carve and you will spend far less time actually sharpening.
If you buy tools that arrive shave-ready, a strop keeps them there. If you buy cheaper tools, you will also need a basic sharpening stone to set the edge before the strop can maintain it.
What to skip at first
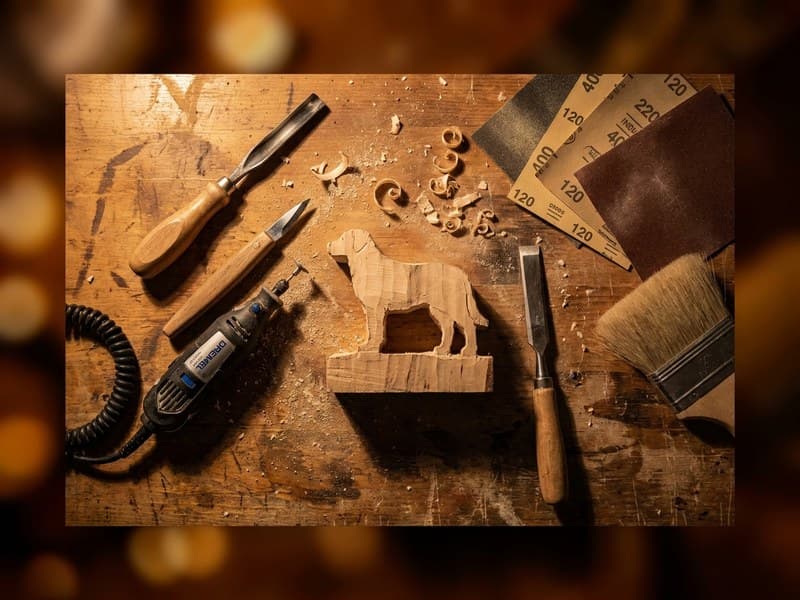
Rotary tools like a Dremel are useful for texture and cleanup later, but they hide the fundamentals when you lean on them too early. Power carving is a skill of its own. Learn to read the grain and control a knife first, then add power tools once your hands know what a clean cut feels like.
You can also skip the giant gouge sets, the mallet-driven bench chisels, and anything marketed as a complete beginner kit with twenty pieces. Most of those pieces sit in a drawer. Buy few, buy good, and add tools only when a specific cut asks for one.
Get the supplies from this guide
Every tool and material mentioned here lives on our resources page, organized by category. Product links there are Amazon affiliate links.